

Let's see how to install it.Follow the steps below.
1.How to install Page Navigation Widget
- Log In to your Blogger Account
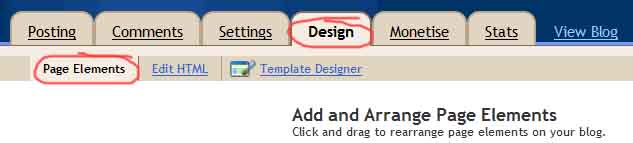
- Go to Design-> Page Elements(Shown in the Picture)
- In New Blogger Template Go to Layout -> Add Gadget
- Click on Add Gadget (anyone) and look for HTML/Javascript take it.
- Leave the Title as Blank(as shown in the figure)

- Copy and paste the below code in it.
you can change Red Highlighted texts when you need. pageCount=7; determines how many Blog posts in each pages. you want to display in each pages.(Note:if you change this value '7' goto Settings->Formatting and change value of Show at most as you given in PageCount)

- Click on save,You are almost clear.
- Then Change the position of the Widget ,place under the Blog posts.(shown in the figure)

- Done..your blog had a page navigation bar.
No comments:
Post a Comment